2016.3. 1 / 庭づくり
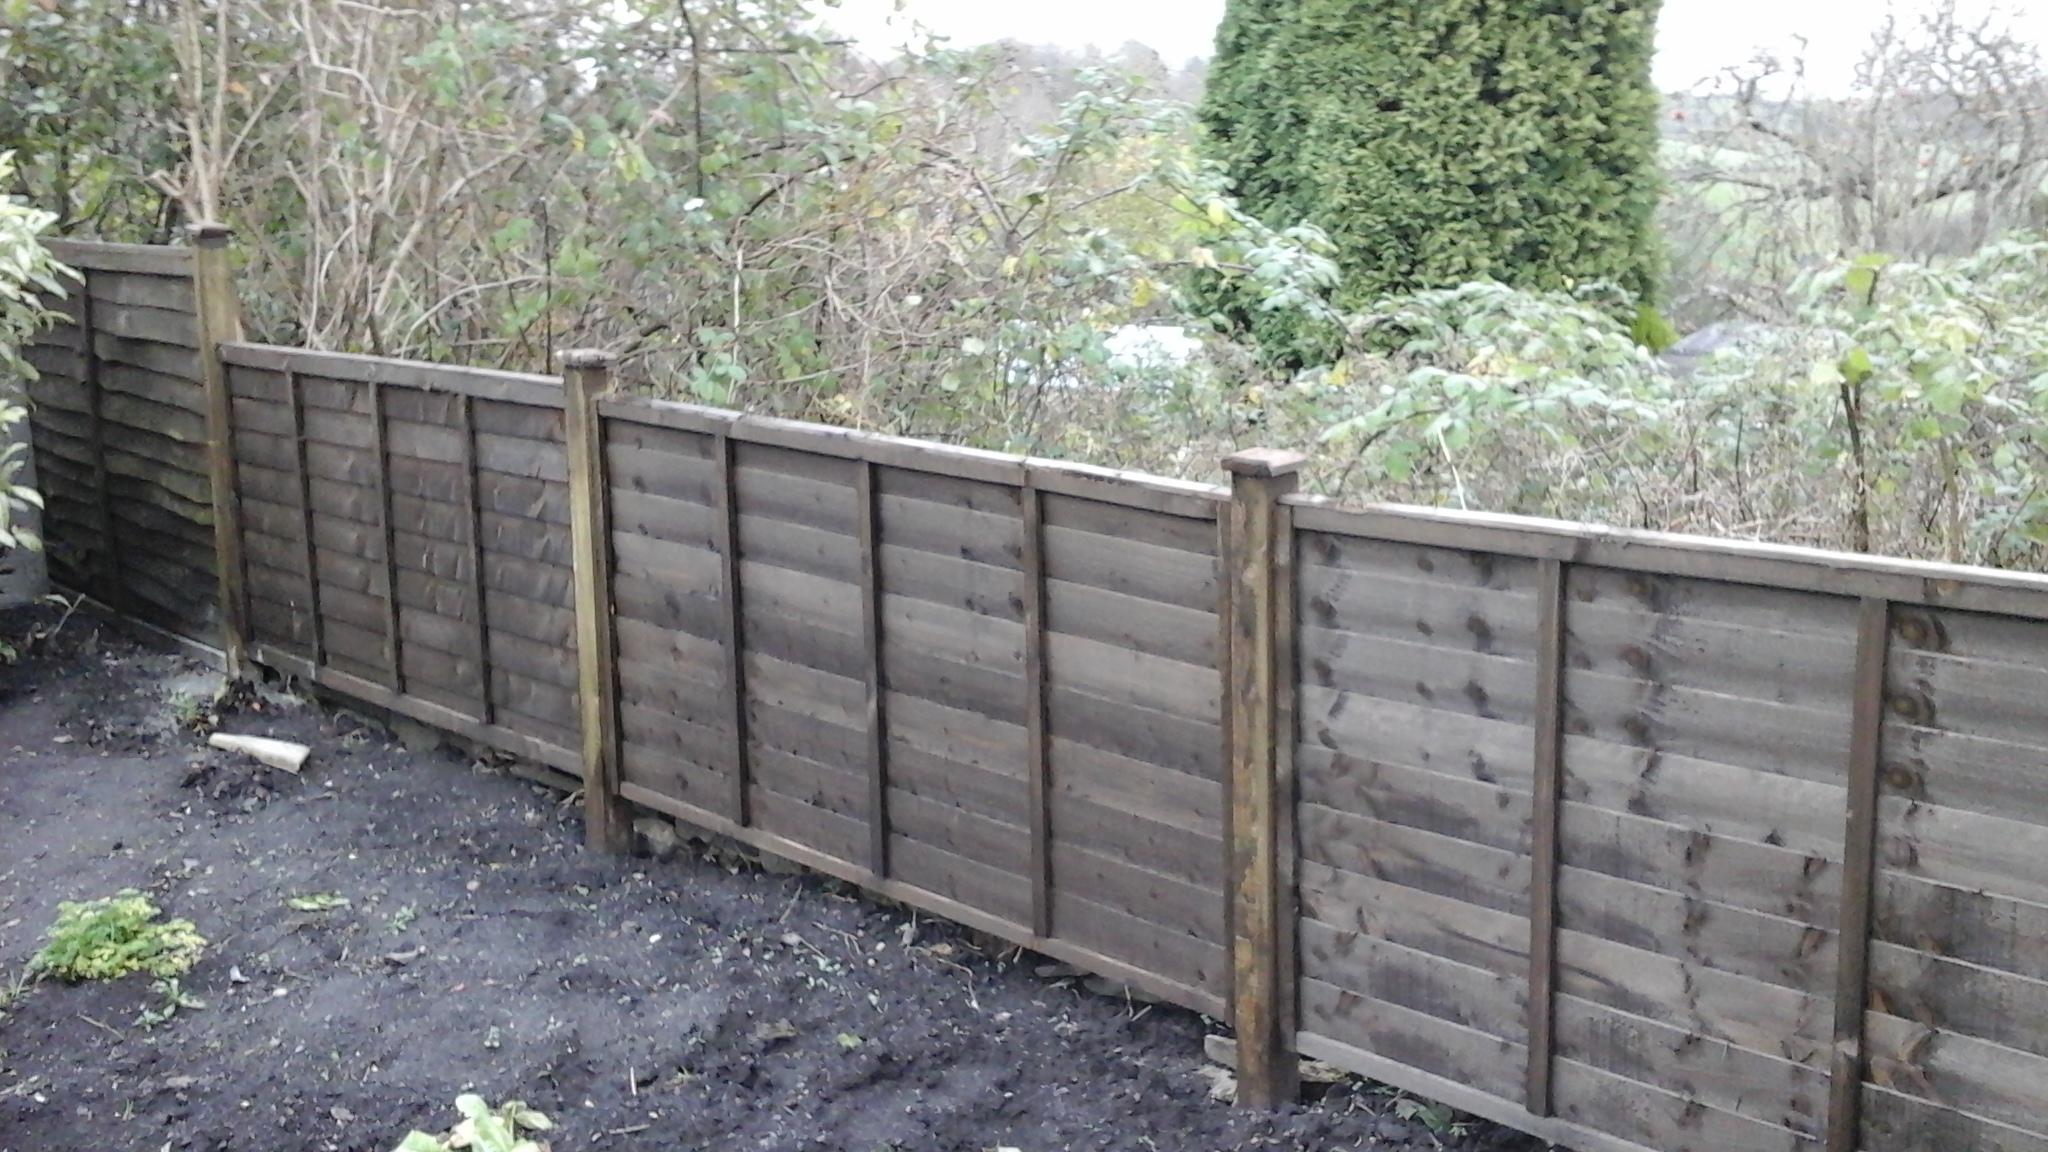
さて、塗装も終わったことだし、新しいフェンスを取り付けられる!
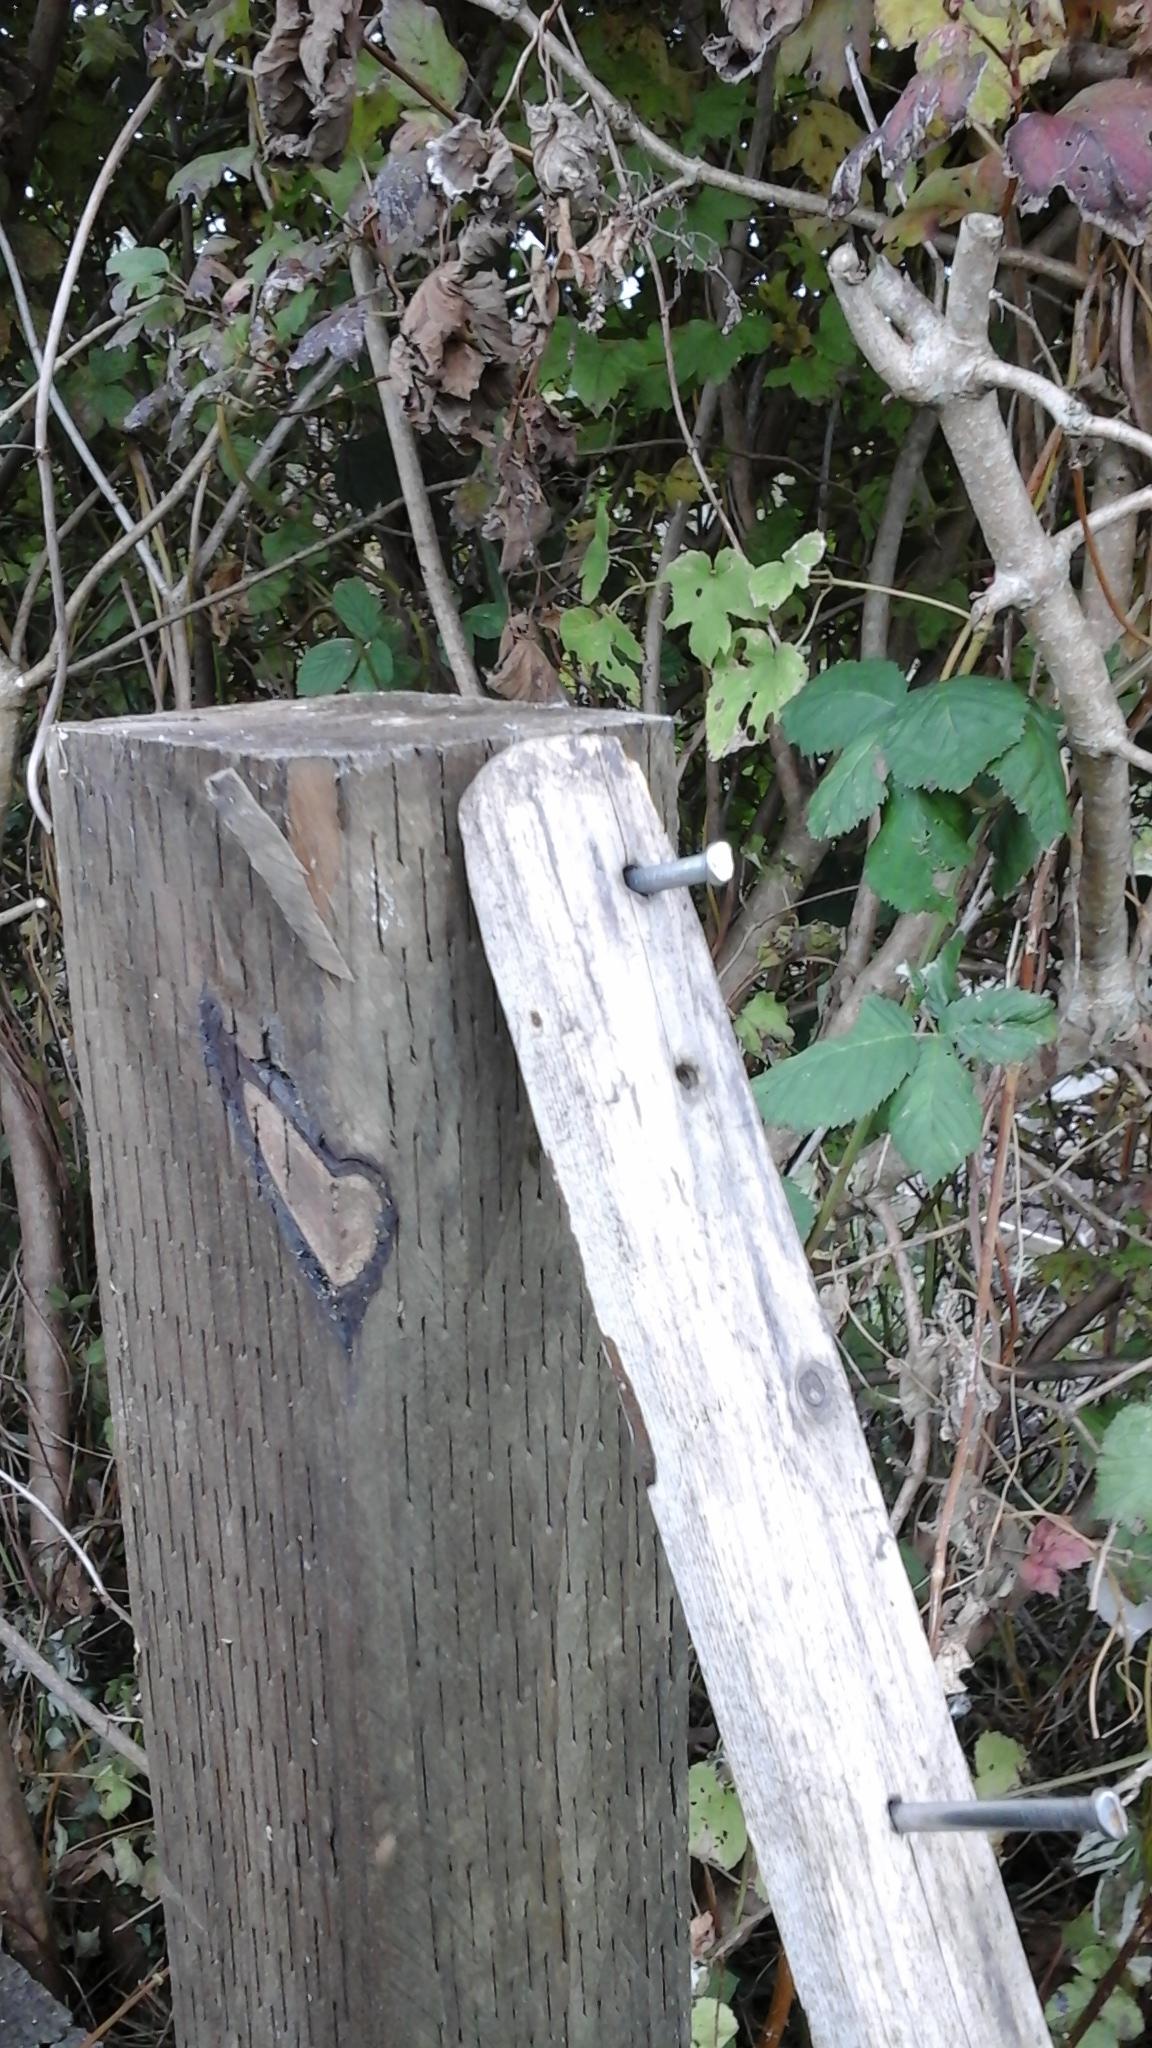
まずはフェンスの柱からスタート。
柱の位置に穴をあけておき、そこに最初のフェンスパネルをサイドバーごと柱に釘打ちして取り付ける。
次の柱を予定の穴に入れ、さっきのパネルに同じように釘打ちして取り付けていく。
他の柱の穴はこの段階ではまだコンクリートで固めないよ。
この作業を続けてフェンスパネルがつながるけど、ここでお勧めなのが柱が土中やコンクリートに埋まる部分には木を保護するといい。
私たちが良く使うのはクレオソートだったんだけど、最近英国では手に入らなくなった。。。
まだ、残っているものがあったから今回はそれを使うことにする。
Now I am ready to build the new fence.
We start with the fence poles. The first post is fixed in firmly, then the first panel is "offered up" (builders' speak!) and nailed to the post with nails through the side bars.
The second post is then fitted against the panel and nailed in the same way and that post is made firm - and so the process continues
Before the posts are fixed in place with concrete it is advisable to treat the bottom parts with a strong wood preservative. I have used creosote which has always been the best to use, but it is no longer available in UK ( for conservation reasons). Luckily I have some left!

Step 1
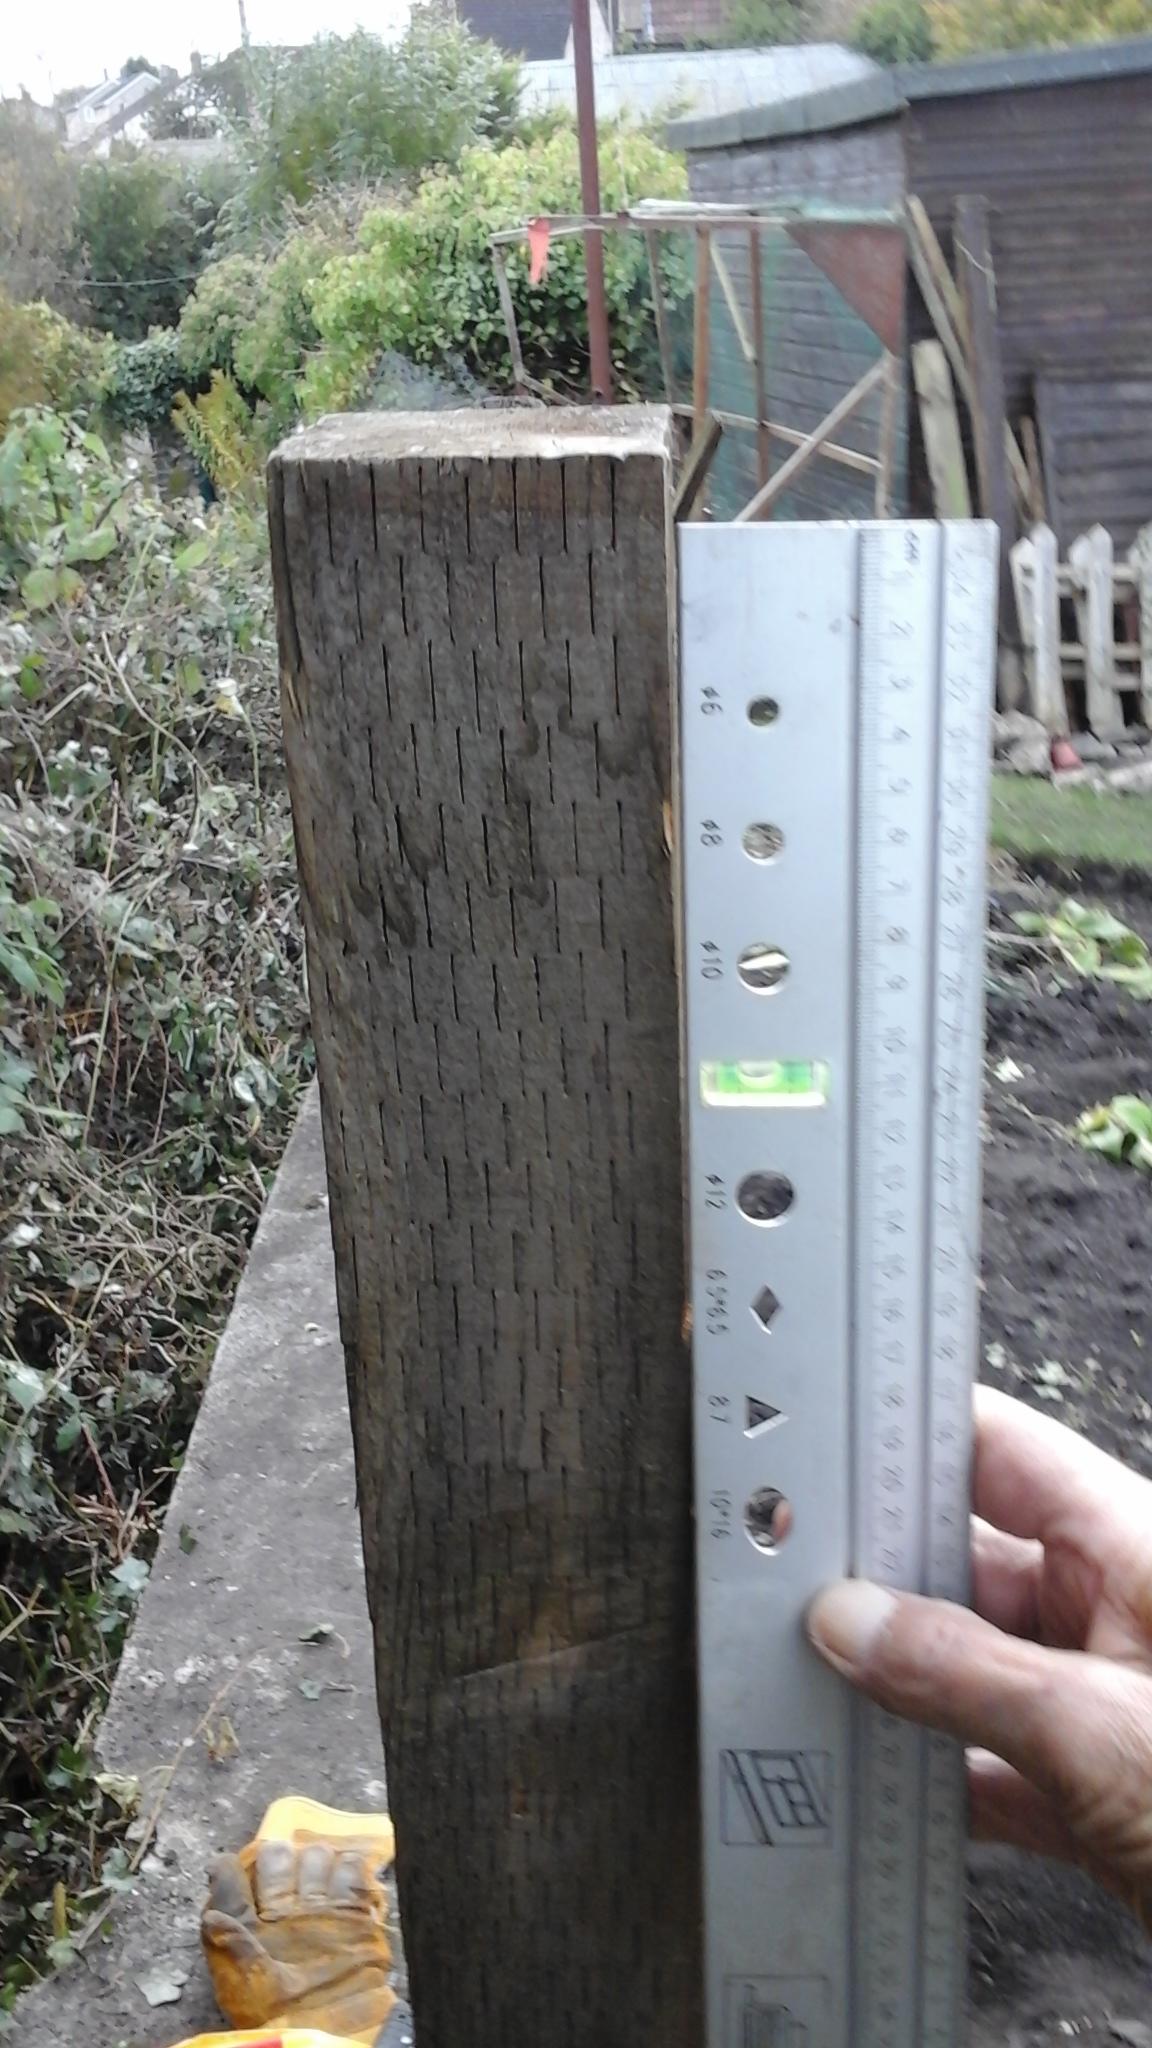
柱を垂直にする。
Level up the post in the prepared hole.
Step 2
必要ない木などを使って、動かないように固定する。
Hold it in place with a support beam.
Step 3
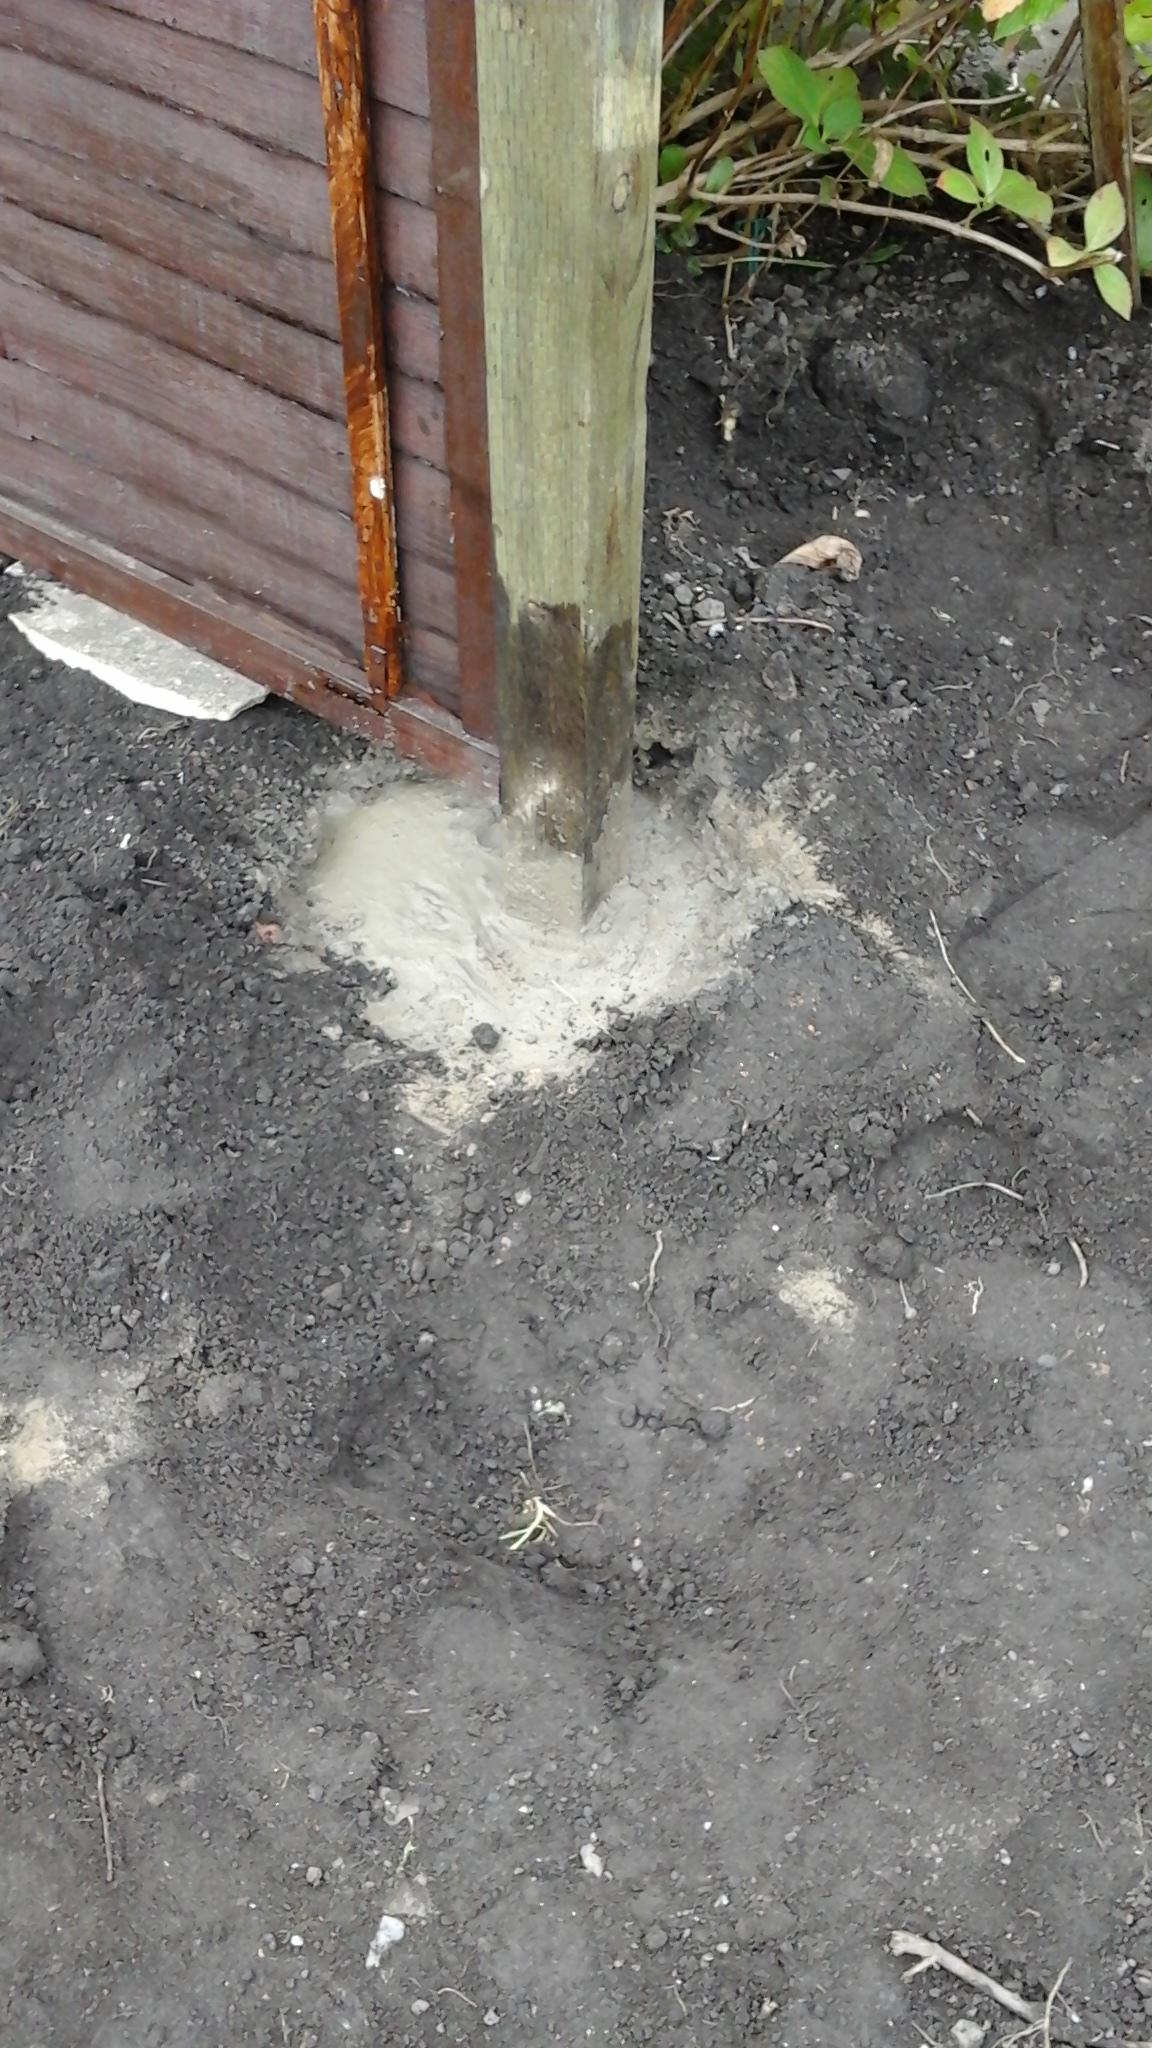
柱を埋めた足をコンクリートで固める。使ったのは15分で固まるという速乾性のもの。
Fill the hole with concrete. I've used Postcrete which goes hard after only 15 minutes.
Step 4
これてパネルが前部つながった!
.New panels fixed with nails through each side